How to Put or Place Google AdSense Code Below Post Title on Blogger.com
Every blogger or webmaster use AdSense to monetize their blog, Google AdSense is the popular and most of the bloggers are using this to generate best income through the ads of Google. But after getting AdSense approval placement of AdSense ad plays a crucial role for generating the income. You might have observed in many Blogs (including my site as well) AdSense ads at below post title and end of the post, in this situation you may have a doubt that why myself and other blogger use AdSense at below post title and end of every post? It is because placement of ad in this two places increases CTR (Click Through Rate) of AdSense. If you are a WordPress user then you can place ad anywhere by using plugins, but if your site is on blogger platform and you are a new to the field of Blogging then its little bit difficult for you to place ad below post title, but don't worry. Today in this article I'll show how to put AdSense ads below the title of the post in the Blogger platform. But you should not rely on what other follows. You should keep trying to add AdSense code at various locations to check which ad placement works best for you.


Creating Google Ads:
- Go to your Google AdSense account.
- Create a new ad unit.
- For better results choose wide area ad sizes like 300x250 Medium Rectangle or 336x280 Large Rectangle or else 728x90 Leaderboard .
- Customize your ad colors and click on save and get code button.
- Select Synchronous in the code type and copy the ad code.
- Now parse this code using the HTML Parse Tool to change special characters into their corresponding HTML entities. The ads won’t appear if you use that code directly and also it will show error message whenever you click on save template button.
- Now copy the parsed code.
Adding Google AdSense in Blogger Below Post Titles:
1. Go to Blogger.com >> Template.
Note: Don't forget to backup your template before doing any changes.
2. Click on Edit HTML button.
3. Copy all the template code and paste it to notepad.
4. Press Ctrl+F and search for
<data:post.body/>
5. Now paste below code just above it.
<b:if cond='data:blog.pageType == "item"'>
PLACE YOUR AD CODE HERE
</b:if>
6. Replace PLACE YOUR AD CODE HERE with your parsed ad code.
7. Click on save template button.
8. Once you click on save, You all done!!!
NOTE: Based on your template, there are chances that you find multiple instances of <data:post.body/>. So try with all of them by placing the ad code. But one thing you need to have is patience.
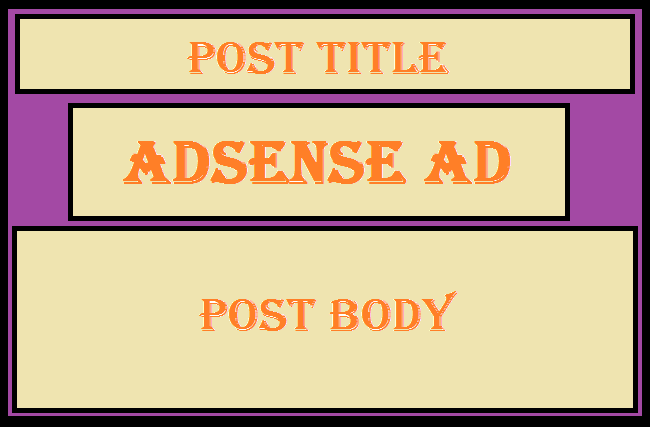
Once you perform these steps then visit any of your blog posts on your site and it will look like the image shown below:

The ad below post title will appear at the left side whenever you use medium or large rectangle type of ads. If you want to show it at the right side or at center then use the code that shown below.
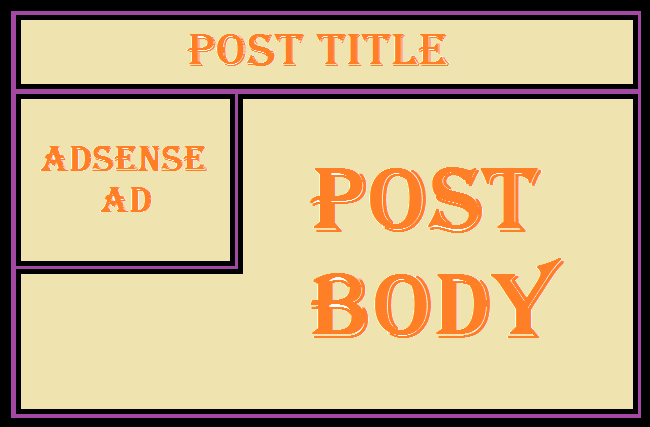
<b:if cond='data:blog.pageType == "item"'>If you are unhappy with the results and want to wrap text around Google AdSense ads like this:
<div align="center">
PLACE YOUR AD CODE HERE
</div>
</b:if>

Use the below code to place ad unit like the above picture
<b:if cond='data:blog.pageType == "item"'>
<div style="float:left; margin:10px;">
PLACE YOUR AD CODE HERE
</div>
</b:if>
Replace left to right if you want to show ads on the right side wrapped with text.
Here you have to note a point that these tactics will work whenever your site has good traffic. If your blog has less number of visitors then placing the AdSense on your website and wasting more time in editing html code is useless. Instead of that you can increase the traffic by using some techniques by social sharing etc.,


Comments
Post a Comment